 delishing
How to Cook Bacon in a Pan: A Comprehensive Guide

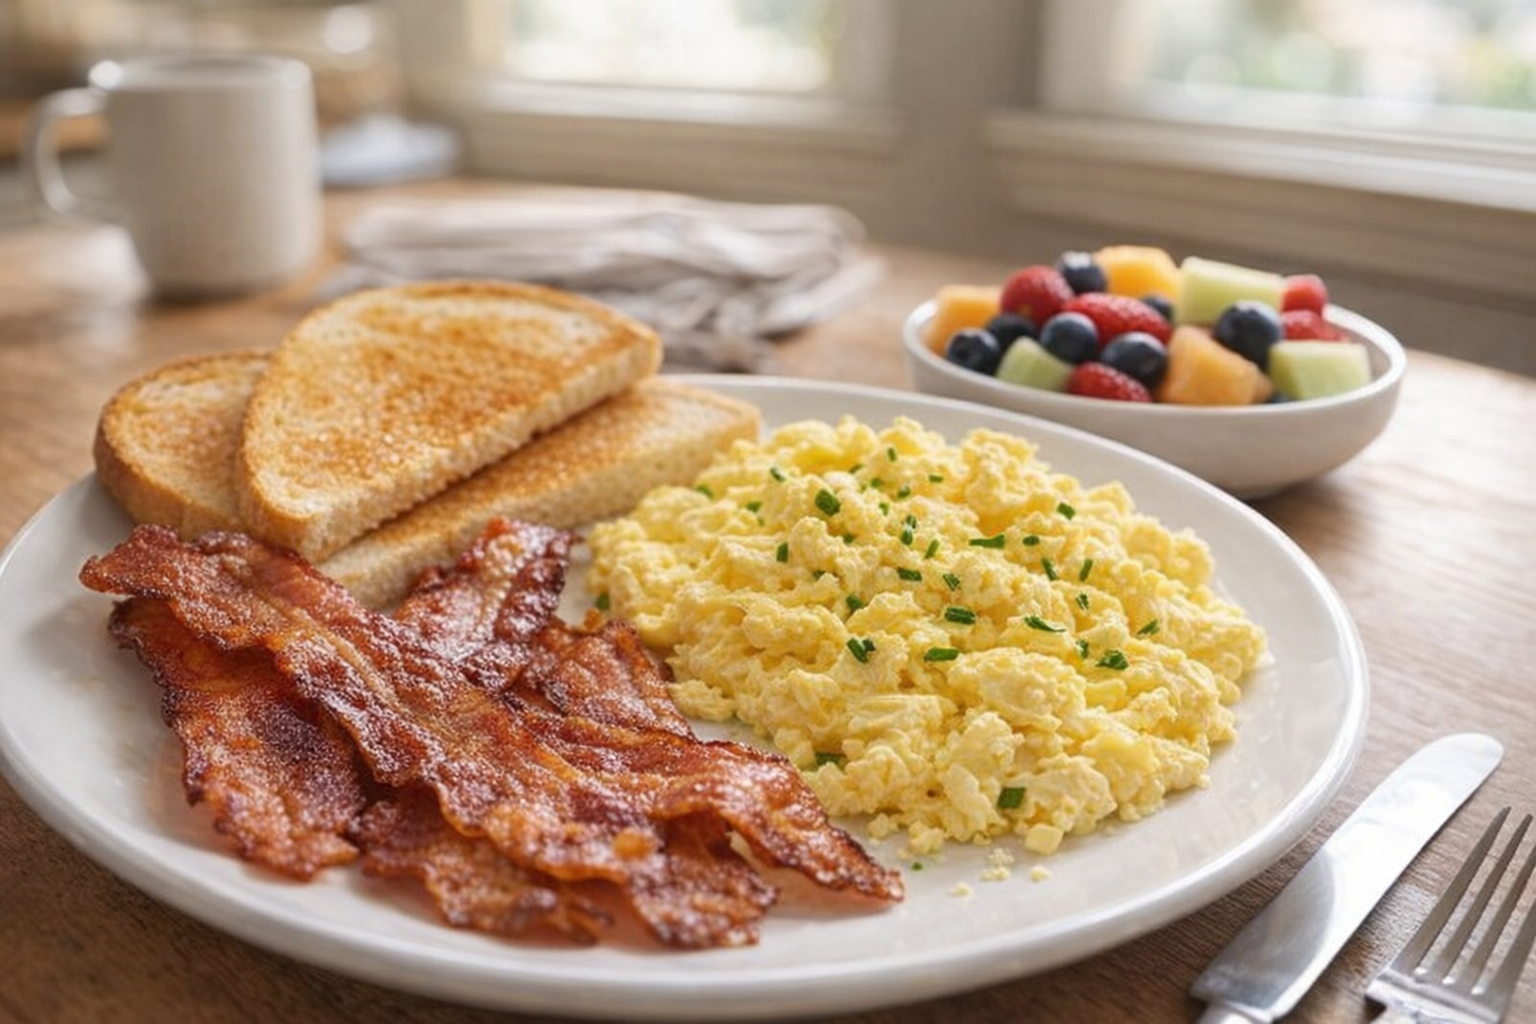
Bacon, with its irresistible smoky and salty flavor, is more than just a breakfast staple. Its versatility allows it to enhance a myriad of dishes, from appetizers to desserts. Mastering the art of cooking bacon in a pan unlocks a world of culinary possibilities. This guide will walk you through the process, ensuring perfectly cooked bacon every time, whether you prefer it crispy, chewy, or somewhere in between.
The key to perfect pan-fried bacon lies in even cooking and rendering the fat slowly. This method coaxes out the most flavor and prevents the bacon from burning. We'll cover everything from choosing the right bacon to achieving your desired level of crispness.
Understanding Bacon Cuts
Navigating the world of bacon can be overwhelming, but understanding the different cuts will help you make the best choice for your needs.
- Streaky Bacon (American Style): This is the most common type, known for its high fat content and distinct layers of fat and meat. It crisps up beautifully and provides a rich, smoky flavor.
- Back Bacon (Canadian Bacon): Leaner than streaky bacon, back bacon comes from the pork loin. It has a ham-like flavor and is often used in breakfast sandwiches or as a leaner alternative.
- Pancetta: Italian-style bacon that is cured but not smoked. It adds a salty, savory flavor to dishes and can be used in pasta sauces, soups, and stews.
- Guanciale: Made from pork cheek, guanciale is prized for its rich, fatty flavor and is a key ingredient in authentic pasta carbonara.
Why Cook Bacon This Way?
- Versatility: Cooked bacon can be crumbled into salads, used as a topping for burgers, or enjoyed as a standalone snack.
- Flavor: Pan-frying allows the bacon's natural flavors to develop and intensify.
- Convenience: It's a quick and easy way to cook bacon without specialized equipment.
Preparation (Mise en Place)
Before you start cooking, there are a few steps to ensure success.
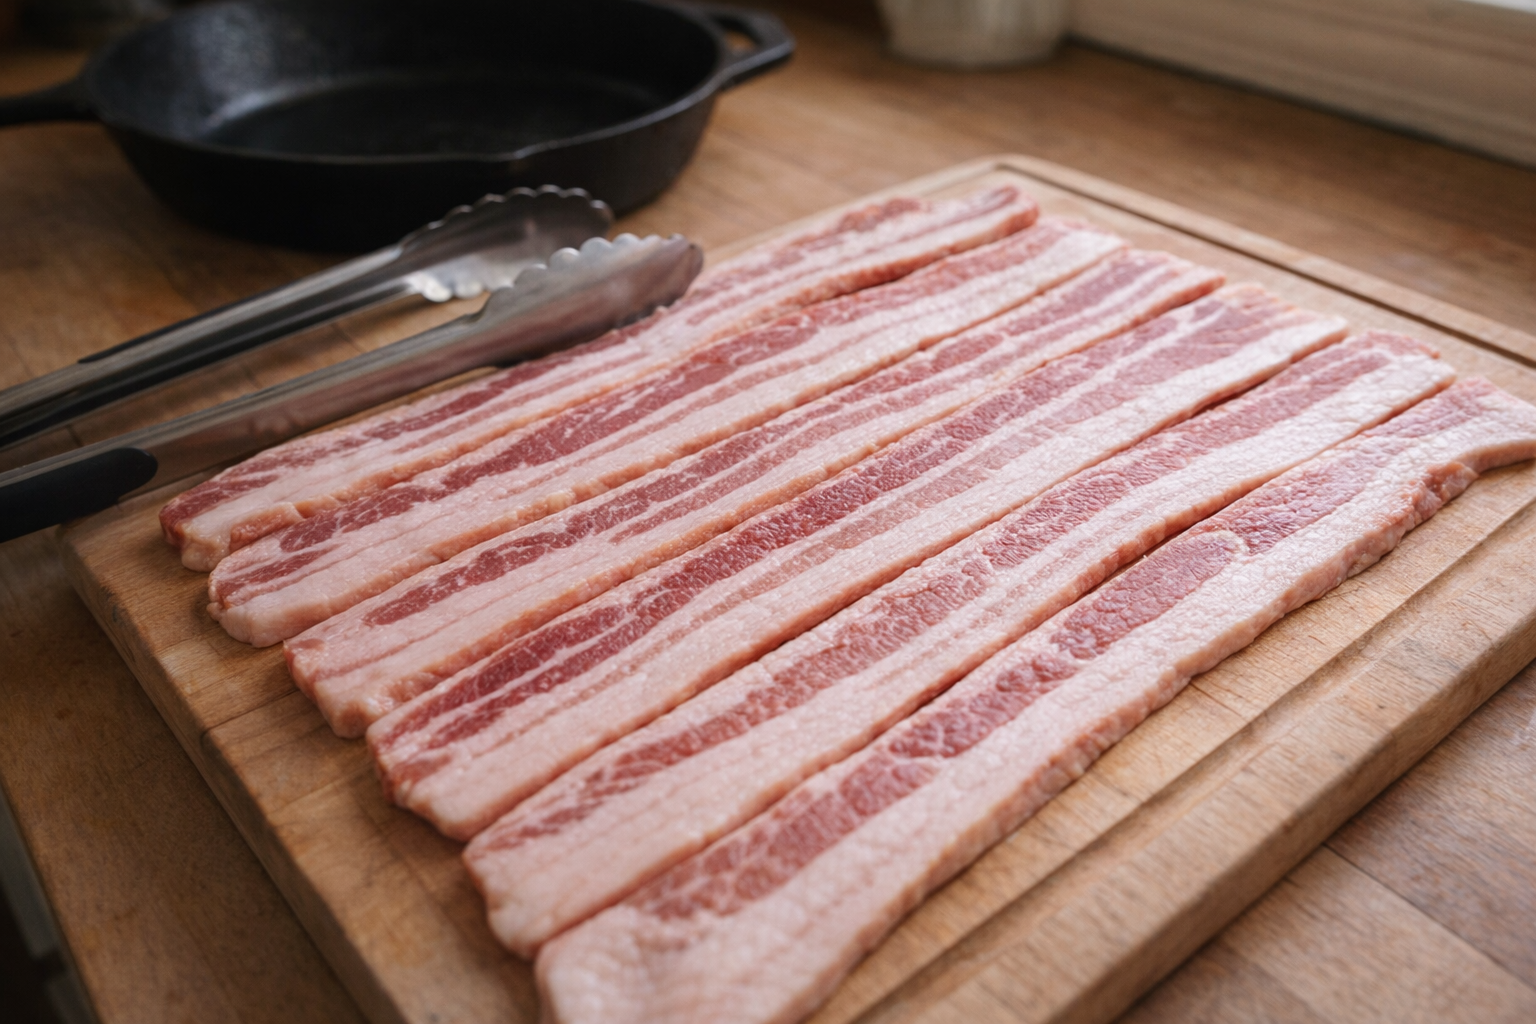
- Separate the Bacon: Gently peel the bacon strips apart. This prevents them from sticking together in the pan and ensures even cooking. If the bacon is very cold, let it sit at room temperature for a few minutes to make it easier to separate.
- Pat Dry (Optional): Patting the bacon dry with paper towels can help it crisp up more effectively by removing excess moisture. This step is especially useful if your bacon is particularly wet.
Essential Tools:
- Cast Iron Skillet or Heavy-Bottomed Pan: A cast iron skillet is ideal for even heat distribution, but any heavy-bottomed pan will work. Avoid thin pans, as they can cause the bacon to burn easily.
- Tongs: Tongs are essential for flipping the bacon and removing it from the pan without damaging the strips.
- Paper Towels: Used for draining the cooked bacon and absorbing excess grease.
- Plate or Tray: To hold the cooked bacon.
The Cooking Method(s)
Here we will discuss how to cook the bacon to crispy perfection, with one main method
Slow and Steady Method
Ingredients:
- 1 pound (450g) streaky bacon, preferably thick-cut
- Start Cold: Place the bacon strips in a cold pan, making sure they are not overlapping. Starting with a cold pan allows the fat to render slowly, resulting in crispier bacon.
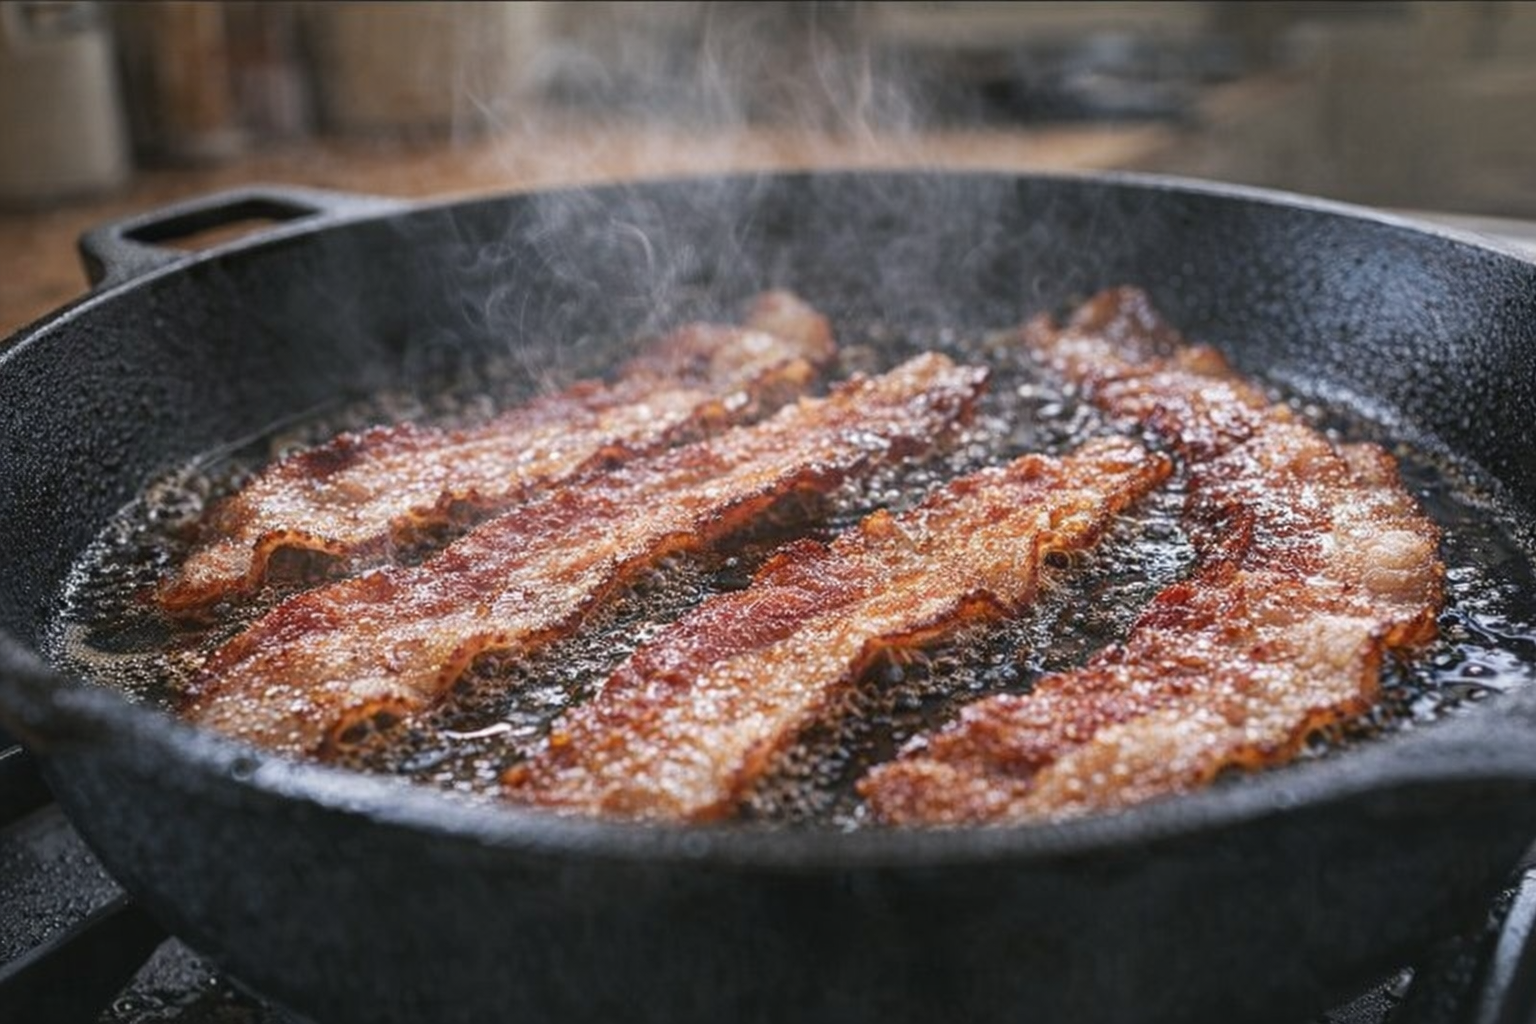
- Medium-Low Heat: Place the pan over medium-low heat. This gentle heat allows the fat to render slowly and evenly, preventing the bacon from burning. Listen for a gentle sizzle as the fat begins to melt.
- Flip Regularly: As the bacon cooks, flip it every few minutes to ensure even browning and crisping. Watch for the bacon to begin curling and turning a deep golden-brown color.
- Drain on Paper Towels: Once the bacon is cooked to your desired crispness, remove it from the pan with tongs and place it on a plate lined with paper towels to drain off excess grease. You should hear a satisfying crackle as the bacon cools.
- Reserve the Fat: Don't discard the rendered bacon fat! Strain it and store it in a jar in the refrigerator. It can be used to add flavor to other dishes, such as roasted vegetables or fried eggs.
Cooking Time & Doneness Guide:
- Chewy Bacon: Cook for approximately 8-10 minutes, or until the bacon is cooked through but still pliable. Internal temperature is not critical for bacon, as it is cured.
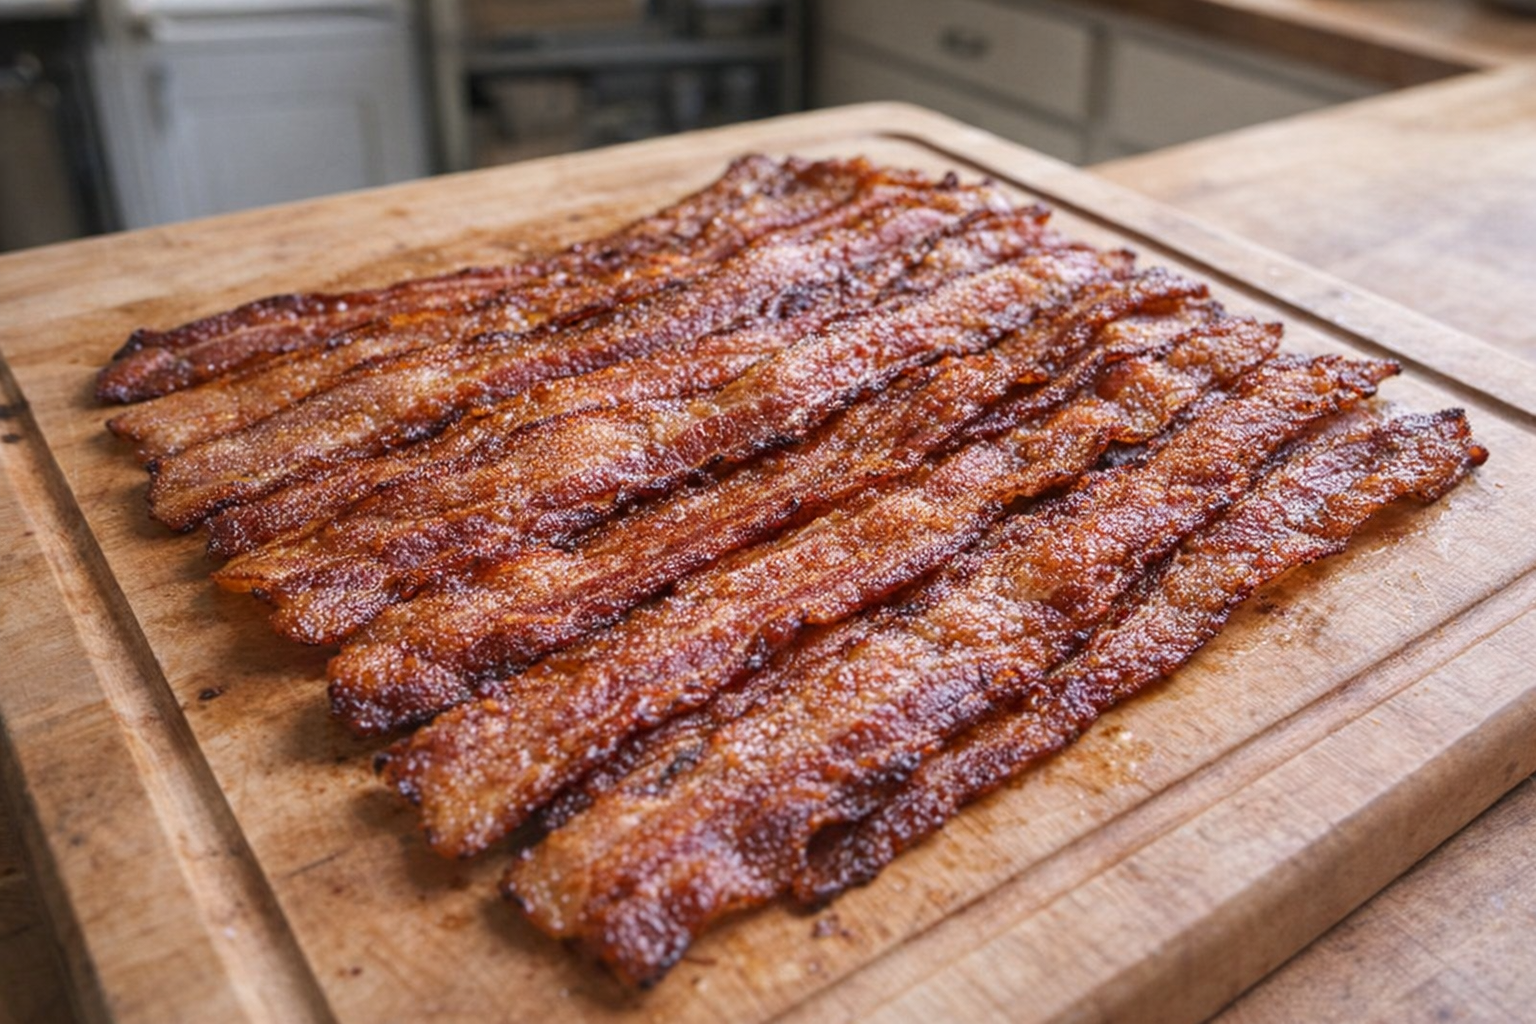
- Crispy Bacon: Cook for approximately 12-15 minutes, or until the bacon is deeply golden-brown and crispy.
Visual Cues:
- Color: The bacon should be a rich, deep golden-brown color.
- Texture: Crispy bacon will be firm to the touch and will shatter easily when bent.
- Sound: The bacon will sizzle loudly as it cooks, and the sizzling will subside as it becomes crisp.
Tips for Perfection:
- Avoid Overcrowding: Cook the bacon in batches to avoid overcrowding the pan. Overcrowding lowers the pan temperature and can result in steamed rather than crispy bacon.
- Don't Crank Up the Heat: Resist the urge to increase the heat to speed up the cooking process. High heat can cause the bacon to burn before the fat has a chance to render.
- Use a Splatter Screen: Bacon grease can splatter, so using a splatter screen can help keep your stovetop clean and prevent burns.
- Press the Bacon: If your bacon is curling excessively, use a spatula to gently press it down in the pan to ensure even contact with the heat.
Storage & Reheating:
- Storage: Cooked bacon can be stored in an airtight container in the refrigerator for up to 4 days.
- Reheating: Reheat bacon in a skillet over medium heat, in the microwave, or in the oven. For best results, reheat in a skillet to restore its crispness.
Serving Suggestions:
- Classic Breakfast: Serve alongside scrambled eggs, toast, and fresh fruit for a classic breakfast.
- BLT Sandwich: Use crispy bacon to make a BLT (bacon, lettuce, and tomato) sandwich with toasted bread and mayonnaise.
- Bacon-Wrapped Dates: Wrap Medjool dates with bacon and bake until the bacon is crisp for a sweet and savory appetizer.
- Salad Topping: Crumble bacon over salads to add a salty, smoky crunch.
💡 Pro Tips
- Start with cold bacon in a cold pan for even rendering of fat and crispness.
- Don't overcrowd the pan; cook in batches to maintain the pan's temperature and prevent steaming.
- Save the bacon fat! It adds incredible flavor to eggs, roasted vegetables, and other dishes.
- If the bacon curls excessively, use a spatula to gently press it down in the pan for even cooking.
- Use a splatter screen to minimize mess and prevent burns from hot bacon grease.
Frequently Asked Questions
Uneven cooking often occurs when the pan isn't heated evenly or the heat is too high. Using a heavy-bottomed pan or cast iron skillet and cooking over medium-low heat allows the fat to render slowly and the bacon to cook evenly. Flipping the bacon regularly also helps ensure consistent browning.
Yes, you can substitute turkey bacon. However, turkey bacon has a lower fat content, so it may not crisp up as much as pork bacon. Reduce the cooking time slightly and watch it carefully to prevent it from drying out. Adding a teaspoon of oil to the pan can also help with crisping.
Cooked bacon should be stored in an airtight container in the refrigerator and consumed within 3-4 days. Ensure the bacon is cooled completely before storing to prevent condensation from affecting its quality.
The best way to reheat bacon is in a skillet over medium heat. This helps to re-crisp the bacon. You can also reheat it in the oven at 350°F (175°C) for a few minutes, but watch carefully to prevent it from burning. Microwaving can make the bacon soggy.